Upgrade Legacy Webhooks to new Webhooks
Seamlessly migrate to the latest Castle Webhooks by following this guide.
Remember to re-evaluate how your current Webhooks are configuredWhile this guide provides a one-to-one migration from Legacy Webhooks to the new Webhooks, we recommend re-evaluating how your Webhooks are configured. This is an opportunity to optimize your setup and ensure it aligns with your current workflow needs.
Legacy Webhooks
Castle's Legacy Webhooks were configured via the Castle Dashboard based on two types of security events:
$review.opened: Triggered when the event status is$succeededand the Castle response policy action ischallenge$incident.confirmed: Triggered when the event status is$succeededand the Castle response policy action isdeny.
New Webhooks
The new Webhooks, as described in the Webhooks documentation , can be configured either at the policy level or the list level. The event types include:
$policy.matched: Triggered when a specific policy is activated.$list_item.created,$list_item.archived,$list_item.unarchived: Triggered when list actions are performed.
Migration Process
This guide shows how to create Webhooks under individual policies. Alternatively, you can create webhooks globally under the Global Integrations Page or the policies > integrations page. You can read more about this in our Webhook documentation.
Migrating challenge webhooks
challenge webhooksTo migrate your legacy $review.opened Webhook:
- Go to the policies page.
- One by one, select policies which have a
Challengeinline action and Event group set to an event with type$succeededlikeLogin SucceededorRegistration Succeeded. - Click on Add Webhook.
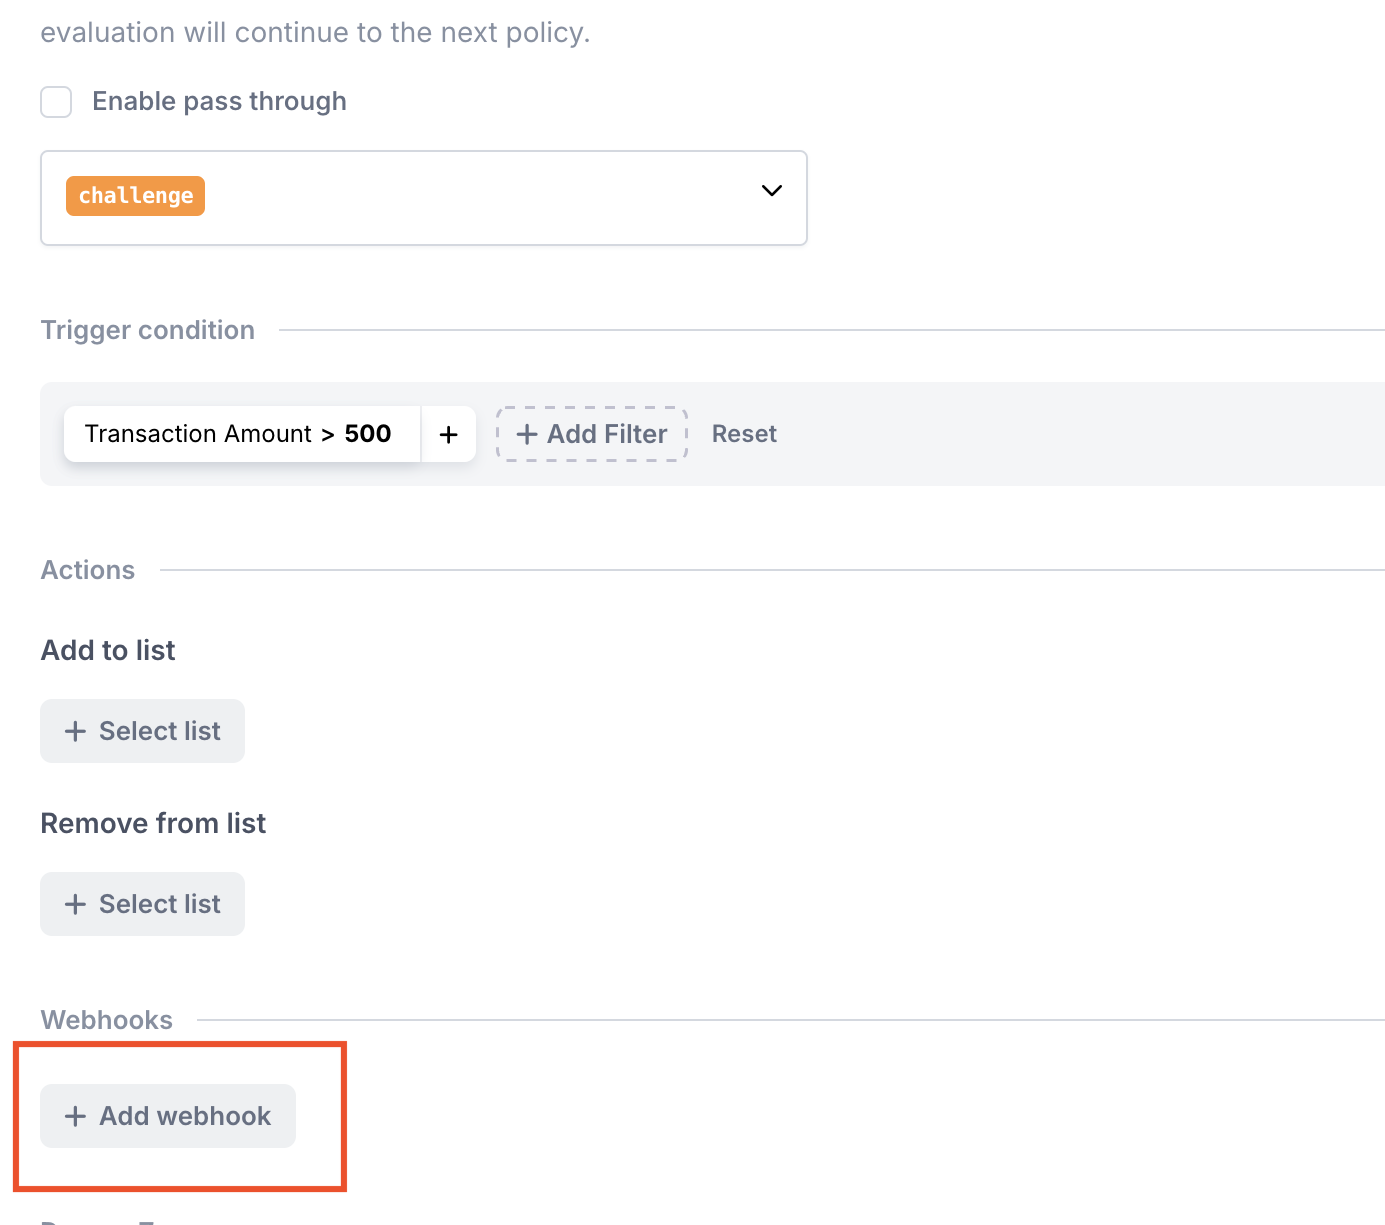
- Copy the Endpoint URL from the Legacy Webhooks Page where the "Events subscribed to" is
$review.opened.

- Paste the URL into the new Webhook configuration.
- Click on Save Changes.
This new webhook will trigger whenever the associated policy is activated.
Migrating deny webhooks
deny webhooksTo migrate your legacy $incident.confirmed webhook:
- Go to the policies page.
- One by one, select policies which have a
Denyinline action and Event group set to an event with type$succeededlikeLogin SucceededorRegistration Succeeded. - Click on Add Webhook.
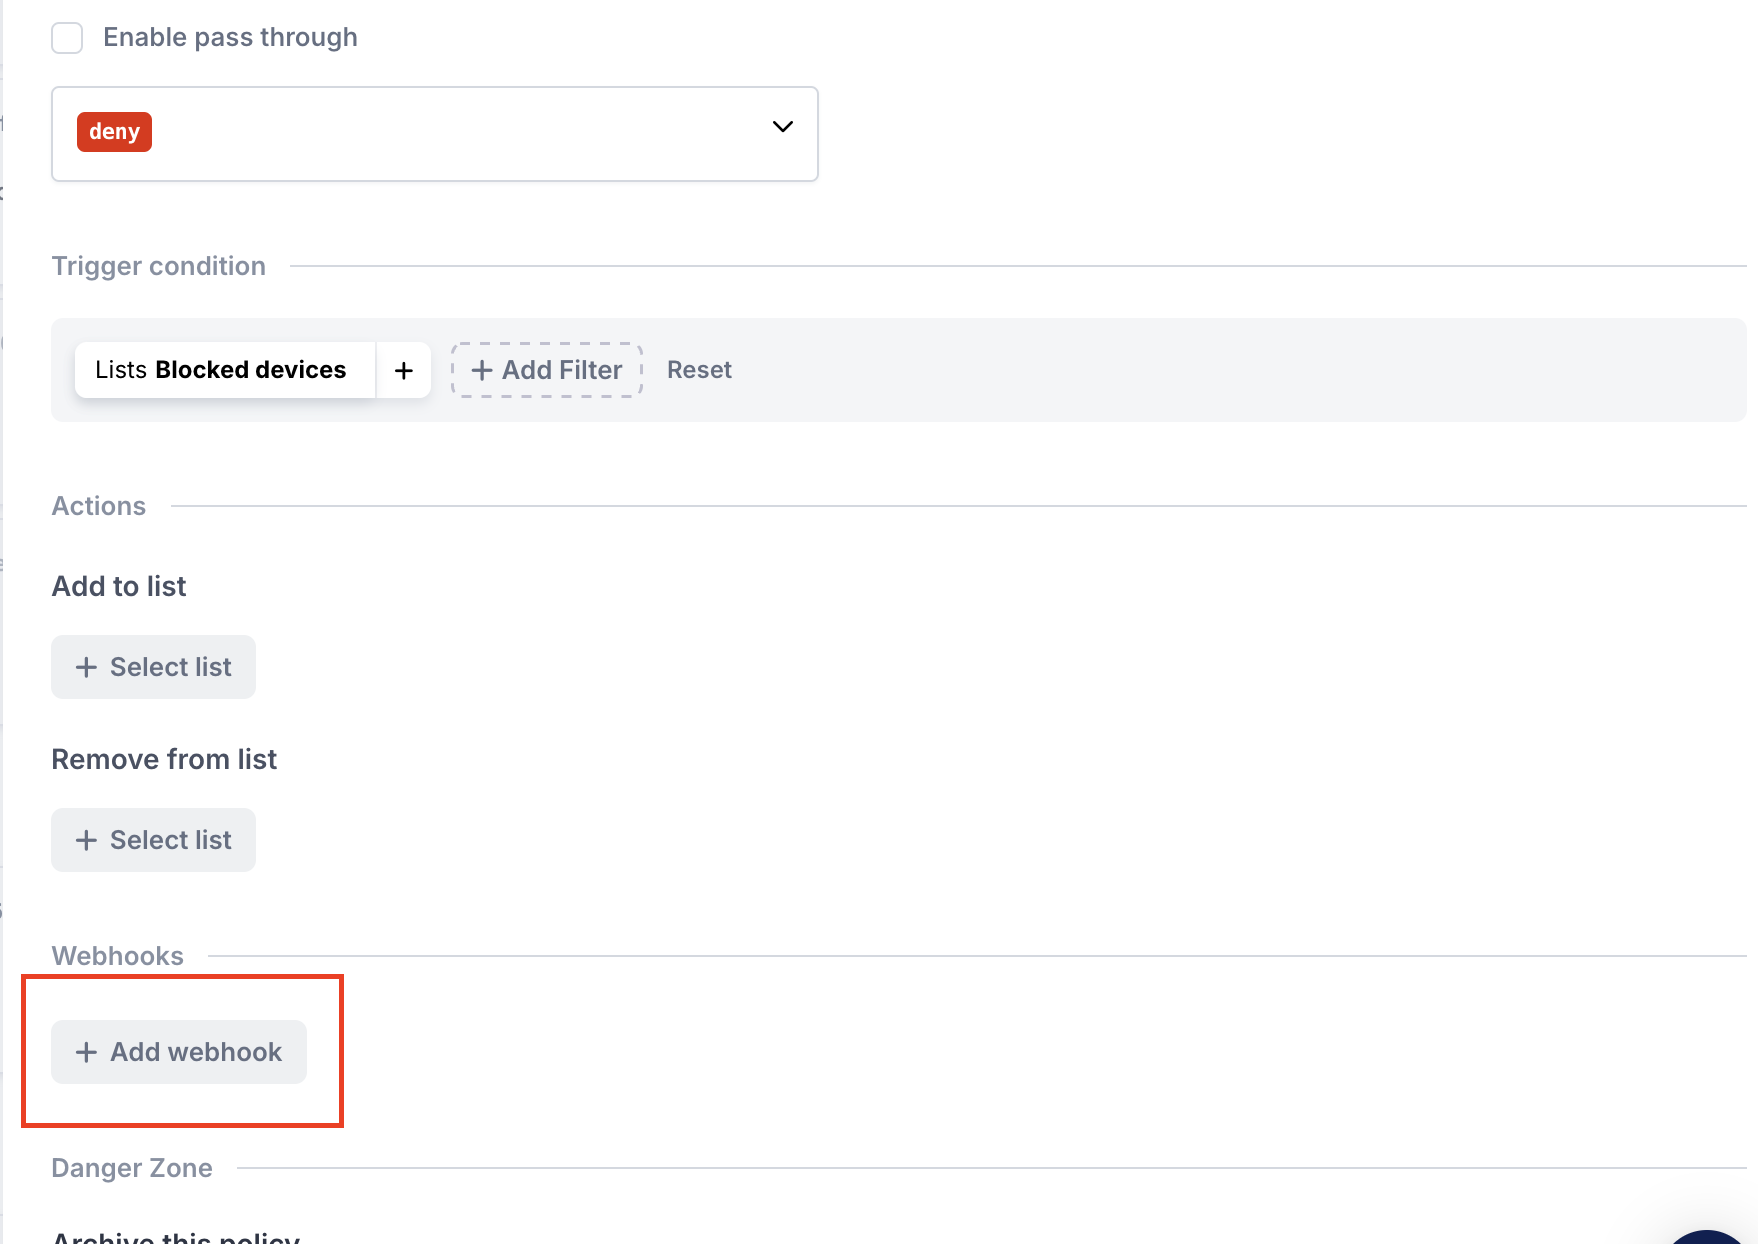
- Copy the Endpoint URL from the Legacy Webhooks Page where the "Events subscribed to" is
$incident.confirmed.

- Paste the URL into the new webhook configuration.
- Click on Save Changes.
This Webhook will now trigger whenever the associated policy is activated.
Final Steps
Review webhook dataReview the new webhook data here. Compare the data received from the new Webhooks with your legacy Webhook data, and update your code as needed.
Before deactivating your Legacy WebhooksEnsure your new Webhooks are functioning correctly. It's recommended to run both Legacy and New Webhooks for a week in parallel for testing.
Updated 7 months ago